
A recorder fingering chart is a visual guide showing finger placements for producing notes. It’s essential for learning and mastering recorder playing, offering clarity and precision.
What is a Recorder Fingering Chart?
A recorder fingering chart is a diagram or guide illustrating finger placements for producing specific notes on a recorder. It typically includes holes, finger positions, and coverings, standardized for different recorder types. Available in PDF formats, these charts are essential for learners, providing clear visual aids to master notes and improve technique effectively.
Importance of Fingering Charts for Recorder Players
Fingering charts are essential tools for recorder players, offering clear, visual guides for finger placement to produce accurate notes. They enhance learning efficiency, promote consistency, and improve sound quality. Accessible in PDF formats, these charts provide standardized references for various recorder types, aiding both beginners and advanced players. They also support group playing and teaching, ensuring uniform techniques and facilitating musical development effectively.

Types of Recorder Fingering Charts
Recorder fingering charts are available for different types, including Soprano, Alto, Tenor, and Bass. These charts are often provided in PDF format for easy access and practice.
Soprano Recorder Fingering Chart
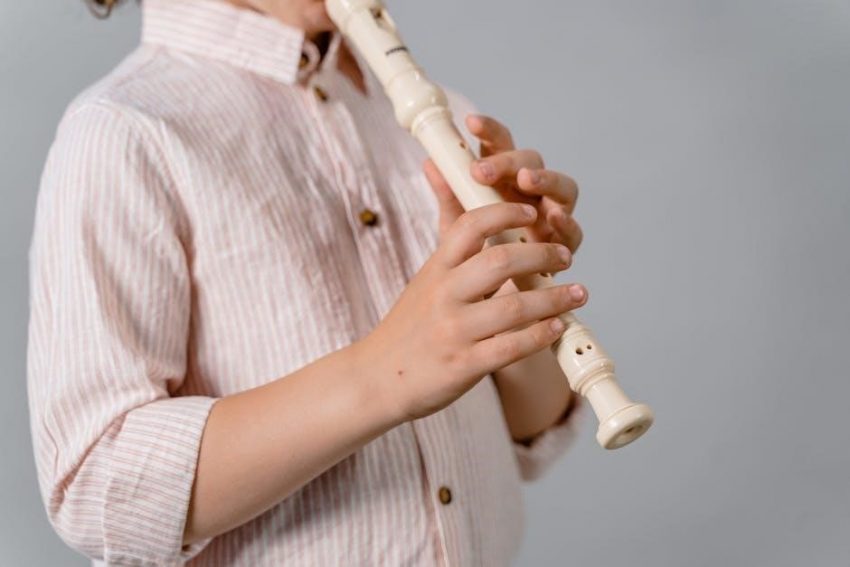
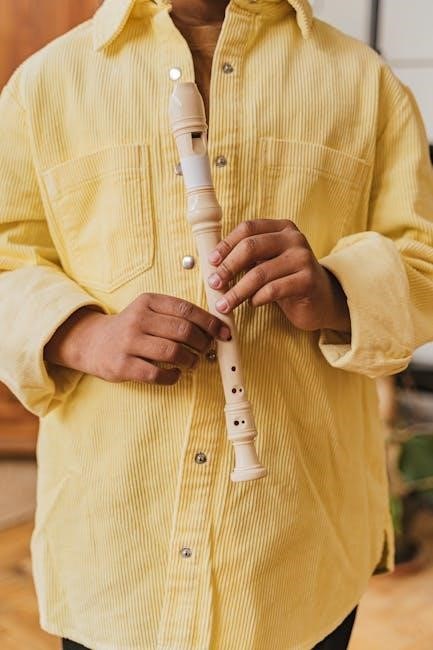
The soprano recorder fingering chart is a fundamental tool for beginners and experienced players. It typically covers Baroque (English) and German fingering systems, showing finger placements for notes from C to high D. Charts are often available in PDF format, making them easy to download and print. Yamaha plastic recorders commonly use this chart, providing clear visuals for each note. It’s essential for mastering soprano recorder techniques.
Alto Recorder Fingering Chart
The alto recorder fingering chart offers detailed finger placements for notes, typically covering both Baroque and modern systems. Available in PDF, it’s ideal for players seeking to master the alto recorder. Charts often include alternate fingerings for complex notes and are compatible with various models, including wooden recorders, ensuring clarity and ease of use for both beginners and advanced players.
Tenor and Bass Recorder Fingering Charts
Tenor and bass recorder charts provide finger placements for lower-pitched notes, essential for deeper sounds. PDFs are widely available, detailing modern and historical fingerings. These charts often include alternate options for tricky notes, ensuring versatility. They cater to both beginners and advanced players, offering clarity and precision for various recorder models, including wooden instruments, to enhance playing techniques and musical expression.

How to Read a Recorder Fingering Chart
A recorder fingering chart is read by identifying note positions and finger placements. The layout shows holes and coverings, guiding players to produce accurate pitches and tones effectively.
Understanding the Layout and Notation
The layout of a recorder fingering chart typically features a diagram of the instrument with numbered holes. Each number corresponds to a finger placement, while additional symbols indicate partial covering or alternative fingerings. The notation often includes letters representing notes (e.g., C, D) and sharps/flats for pitch accuracy. This system ensures clarity and precision for players of all skill levels, making it an essential tool for mastering the recorder.
Interpreting Finger Holes and Coverings
Finger holes on a recorder are typically represented by numbered circles or dots. Open holes are indicated by fully visible circles, while shaded or filled circles denote covered holes. Partially shaded areas may suggest half-covering for specific notes. Numbers or letters alongside holes can indicate which finger to use. This visual system helps players understand proper finger placement for accurate pitch and tone production.
Best Practices for Using a Recorder Fingering Chart
Start with basic notes, practice regularly, and reference trusted charts. Begin with simple exercises, gradually advancing to complex fingerings. Use charts specific to your recorder model for accuracy.
Step-by-Step Guide to Practicing with a Fingering Chart
Begin by familiarizing yourself with the chart layout, noting finger holes and coverings. Start with basic notes, gradually advancing to complex fingerings. Use a metronome to improve timing. Practice scales and arpeggios to build proficiency. Isolate challenging notes and practice slowly before increasing speed. Regularly review and apply corrections to develop muscle memory and accuracy.
Common Mistakes to Avoid When Using a Fingering Chart
Common mistakes include incorrect finger placement, failure to cover holes completely, and neglecting proper posture. Avoid rushing through practice and not cross-referencing with tutorials. Ensure consistent breath control and avoid using charts designed for other recorder types. Regularly review fingerings to prevent bad habits and seek guidance if pitch issues persist.
Finding and Downloading Recorder Fingering Charts in PDF
Recorder fingering charts in PDF are widely available online. Top resources include Blockis Recorder Fingerings and the American Recorder Society. Charts cover soprano, alto, tenor, and bass recorders, often in PNG or JPEG formats for easy downloading and printing.
Top Online Resources for Recorder Fingering Charts
Blockis Recorder Fingerings is a top resource, offering detailed charts for all recorder types. The American Recorder Society provides comprehensive guides, while Yamaha’s official site includes charts for their specific models; These resources are trusted for their accuracy and ease of use, catering to both beginners and advanced players. They often include PDF downloads, making it simple to print and practice.
How to Create Your Own Recorder Fingering Chart
To create a custom recorder fingering chart, start by listing the notes and corresponding finger placements. Use graphic design tools or spreadsheet software to organize the layout visually. Include standard and alternate fingerings for versatility. Ensure clarity with distinct symbols for covered and uncovered holes. Finally, save and share your chart as a PDF for easy access and printing, tailoring it to your specific needs.
Advanced Techniques for Recorder Players
Exploring alternate fingerings enhances agility and tone. Advanced players use specialized charts to master complex notes and achieve precise intonation, refining their musical expression and control.
Alternate Fingering Options for Complex Notes
Alternate fingerings provide solutions for challenging notes, offering easier finger placements. Advanced players use these to simplify complex passages, ensuring smoother transitions and clearer tones. Exploring these options expands musical expression and control, particularly for high-pitched or chromatic notes. Specialized charts often highlight these alternatives, helping players refine their technique and achieve precise intonation across various recorder types and musical styles.
Using Fingering Charts for Improvisation and Composition
Recorder fingering charts are powerful tools for creativity, enabling musicians to explore new sounds and techniques. They provide clear fingerings for improvisation, helping players experiment with melodies and harmonies. For composition, charts reveal note combinations and patterns, inspiring original works. By understanding finger placements, composers can craft pieces that leverage the recorder’s unique capabilities, fostering artistic expression and innovation in music creation.
Recorder Fingering Charts for Beginners
Recorder fingering charts for beginners simplify learning, focusing on basic notes and finger placements. They provide a clear, step-by-step guide to mastering the instrument’s fundamentals effectively.
A Simplified Guide to Getting Started
A beginner’s guide to recorder fingering charts starts with understanding basic finger placements. Focus on notes from C to D, using simple charts available in PDF. Practice each note slowly, ensuring correct finger coverage. Start with soprano or alto charts, as they are commonly used for learning. Download charts with clear visuals for easy reference and steady progress.
Recommended Charts for Learning Basic Notes
Beginners should start with soprano or alto recorder charts, covering basic notes from C to D. These charts are available in PDF, PNG, or JPEG formats. Look for charts specifically designed for Yamaha recorders, as they often include clear fingering diagrams. Download charts with legible layouts and organized information to ensure steady progress in learning foundational notes and finger placements.
Recorder Fingering Charts for Specific Models
Yamaha plastic recorder charts are widely available, offering precise fingerings. Wooden recorder charts differ due to unique hole placements, ensuring accurate tuning and playability for each model.
Yamaha Plastic Recorder Fingering Chart
The Yamaha plastic recorder chart is a popular resource for musicians. It provides detailed fingerings for each note, from C to high D. Available in PDF, it’s easy to download and print. Designed for beginners and experienced players, it ensures consistent pitch and tone. The chart is color-coded for clarity, making it user-friendly for all skill levels. This chart is ideal for educational settings and personal practice.
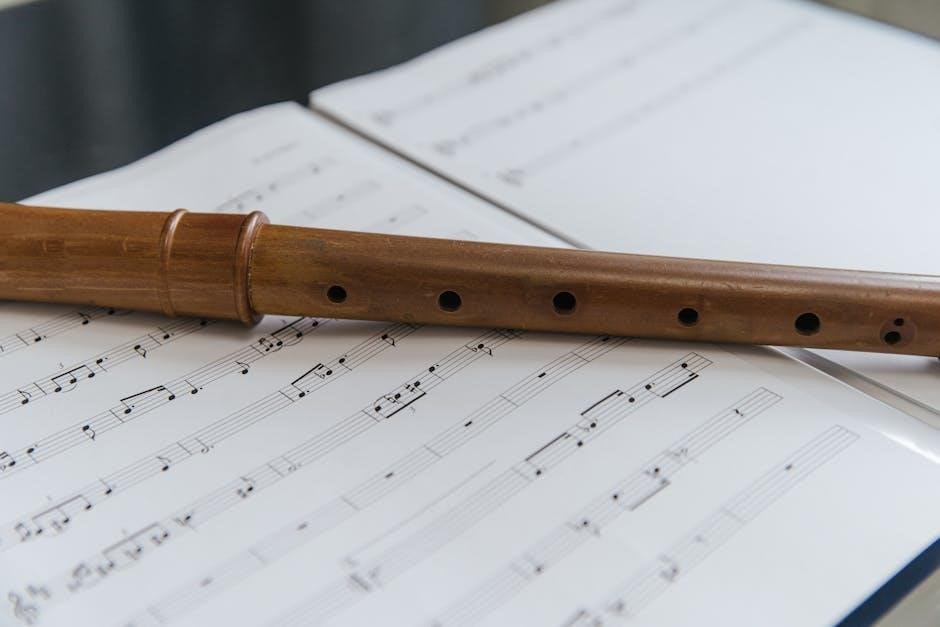
Fingering Charts for Wooden Recorders
Fingering charts for wooden recorders are tailored to their unique acoustic properties. These charts often include alternate fingerings to achieve better intonation and tone. Wooden recorders require precise finger placement due to their narrower bore and sensitive response. Charts are available in PDF format, offering detailed guidance for players. They are ideal for both educational and performance settings, ensuring optimal sound quality and playability.
Troubleshooting Common Issues with Recorder Fingering Charts
Common issues include pitch inaccuracies and intonation problems. Ensure proper finger placement and air flow. Adjustments may be needed for different recorder types and sizes. PDF charts can help resolve these issues effectively.
Resolving Pitch and Intonation Problems
Pitch and intonation issues often arise from improper finger placement or air flow. Using a recorder fingering chart PDF, players can identify correct fingerings and adjust techniques. Ensuring all holes are covered evenly and experimenting with breath control can help achieve accurate pitch. Regular practice with these adjustments improves overall sound quality and consistency.
Adapting Charts for Different Recorder Types and Sizes
Recorder fingering charts vary based on the instrument type and size. For example, soprano and alto recorders have distinct fingerings due to differences in pitch range. Players must adjust charts to match their specific recorder, ensuring proper hole placement and coverage. Comparison charts and guides for wooden versus plastic recorders can help tailor techniques for optimal sound production and intonation accuracy.